How to DIY Cocktail Ice for Your Home Bar?
Posted by TUTU HOME on 19th Nov 2023
Perfecting Specialty Ice: Craft Crushed and Crystal-Clear Cubes at Home
The world of cocktails is one of precision and artistry. Ice is an essential element for crafting a perfect cocktail. Whether you're an aspiring mixologist or simply enjoy a relaxing time at your home bar, understanding how to make and use specialty ice can take your cocktails to the next level.
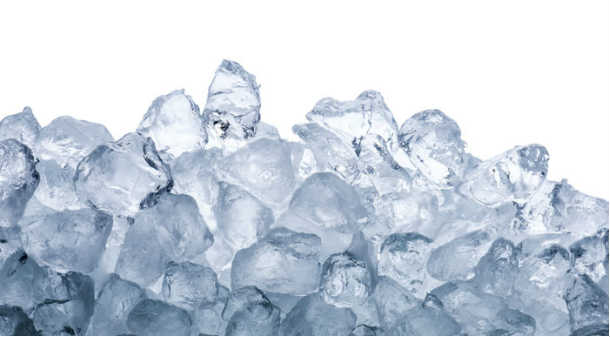
This blog will show you how to make two typical types of specialty ice - Crushed ice and Clear ice cubes.
Crafting Crushed Ice at Home
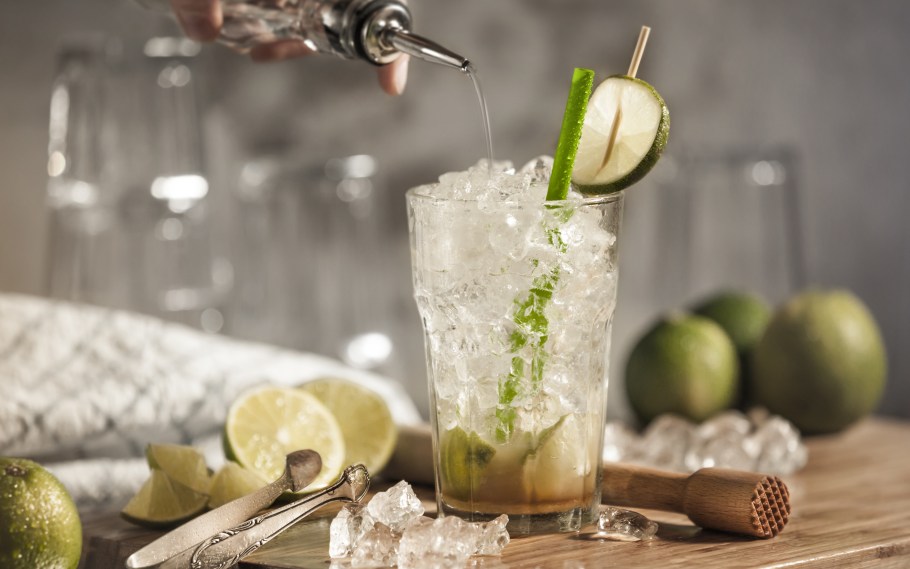
Crushed ice is a bartender's secret weapon, adding texture and refreshment to drinks like Mint Juleps and Tiki classics.
Here's how you can make it at home:
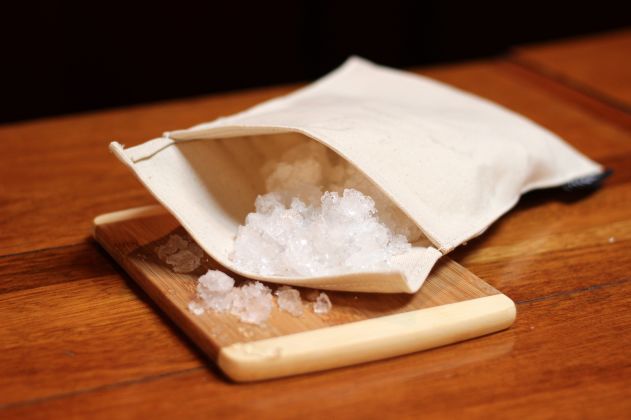
Lewis Bag and Mallet Method: Start with cubed ice and place it in a Lewis bag, a heavy canvas bag designed for crushing ice. Use a mallet or rolling pin to gently crush the ice within the bag until you achieve the desired texture.
Blender Method: Add cubed ice and pulse until you reach the desired consistency. Be mindful not to over-blend, as it may turn into slush.
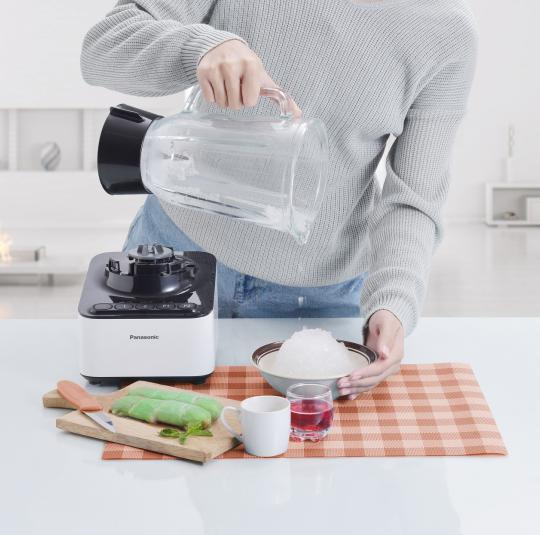
Ice Crushers: Consider investing in an ice crusher for consistent results.
Remember, start with fresh, clean ice to ensure it doesn't impact the flavor of your cocktails.
Creating Crystal-Clear Ice
Clear ice not only looks impressive but also melts slower, preserving the flavor of your cocktail.
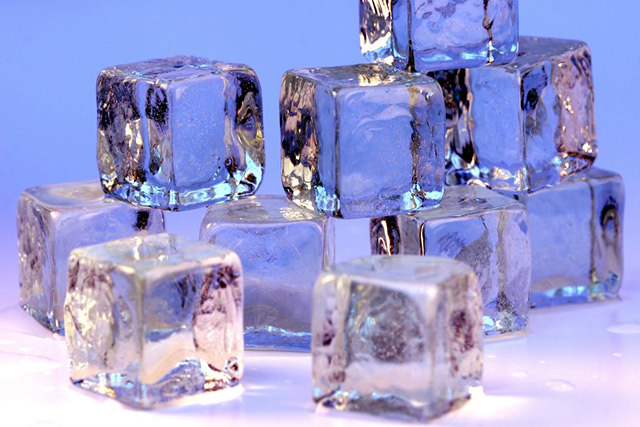
The directional freezing method is the key to achieving clear ice cubes at home:
Prepare the Water: Boil water and let it cool to room temperature. This helps eliminate impurities and bubbles.
Fill the Container: Fill your insulated container with the cooled boiled water. Leave some space at the top for expansion. It's recommended to fill the container only about 3/4 full to leave enough room for ice to expand upwards as it freezes.
Crack the Lid: Place the container in your freezer. Slightly crack the container's lid. This allows gas and air to escape as the water freezes, preventing it from getting trapped in the ice and causing cloudiness.
Freeze Slowly: Place the container in your freezer with the cracked lid side up. Freezing slowly, typically over 18-24 hours, is the key to clear ice. The slow freezing process allows any impurities and air to rise to the top and escape,
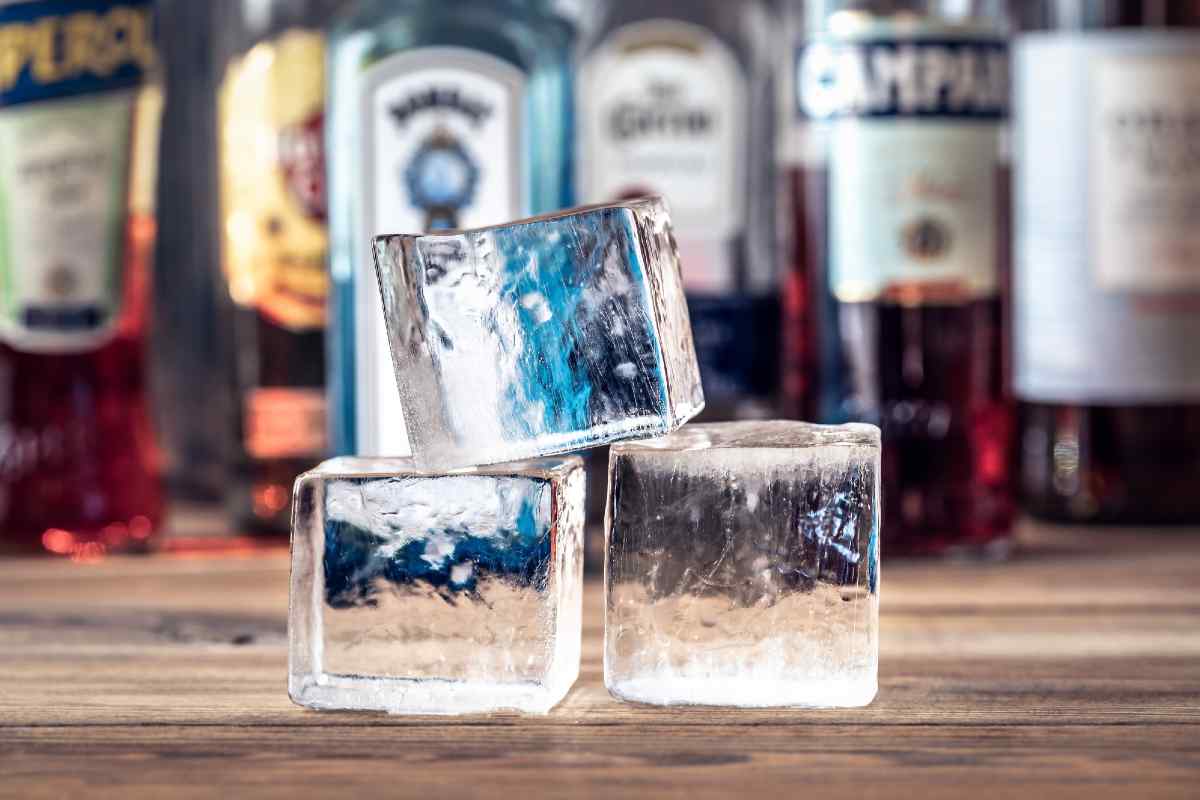
Remove the Ice: Once the ice is completely frozen, take the container out of the freezer. If you see a cloudy layer on top, you can simply remove it. Use a knife or ice pick to gently break the top layer, exposing the clear ice beneath.
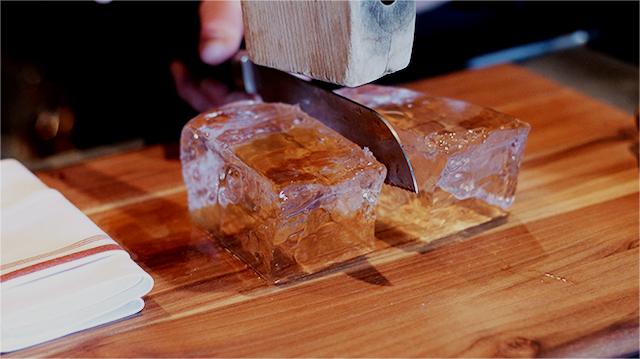
Cut into Cubes or Shapes: After removing the cloudy part, you can cut the clear ice into cubes or any desired shapes using a knife. Be careful when cutting to avoid cracking or shattering the ice.
Maintenance and Storage
Proper storage and maintenance ensure that your specialty ice remains fresh and clear:
Storing Specialty Ice: Use airtight containers to prevent odors and flavors from infiltrating your ice. Label the containers to avoid mix-ups.
Ice Maintenance: Periodically check your ice supply and discard any cloudy or misshapen pieces. Keep your freezer clean to prevent odors from transferring to the ice.
Don't be afraid to get creative.
Experiment with different sizes, shapes, and flavours of specialty ice. Try adding a twist of citrus to your clear ice cubes or using flavored water for ice balls. The possibilities are endless, making your home bar truly unique.
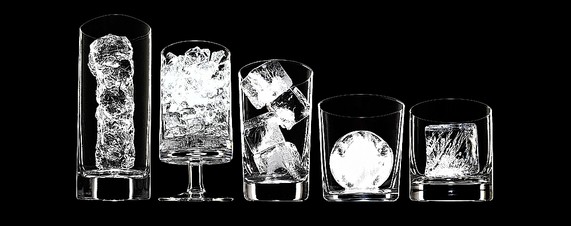
Illustration F. Mrtin Ramin for The Wall Street Journal, Styling by Brett Kurzweil
Shop our curated home bar glassware collection:


